
You can capture a screenshot from any Enigma2 receiver in several ways. Pick whichever method suits you.
Telnet
Use one of these commands — the screenshot will be saved in the /tmp folder. Change "grab" in the path to whatever filename you want:
grab -o -p /tmp/grab.png— captures the OSD only.grab -d -p /tmp/grab.png— captures the OSD together with the channel.
OpenWebif Plugin
Go to OpenWebif → Box Control → Grab screenshot. This loads a picture into the main window. From there you can:
- Right-click the image, choose Save As, and save it to your computer.
- Right-click the image, choose Copy image, then paste it into a graphics program. Do not copy and paste it straight into a forum post — it will only be an image link on your local network, not the image itself.
- Use the Windows Snipping Tool. Snip your image, then save it or paste the snip wherever you want, including forum posts.
TSPanel Plugin
TSpanel — Start TSPanel → System Tools → Screen Grabber and enable ScreenShot.
ShootYourScreen Plugin
ShootYourScreen - Screenshots with the VU+
Web Browser
Paste the address below into your web browser (you can save it as a favourite). Change 192.168.x.x to the IP address of your receiver, then right-click the screenshot and choose Save Image As to name and save it.
http://192.168.x.x/grab?format=jpg
Dream Capture Tool
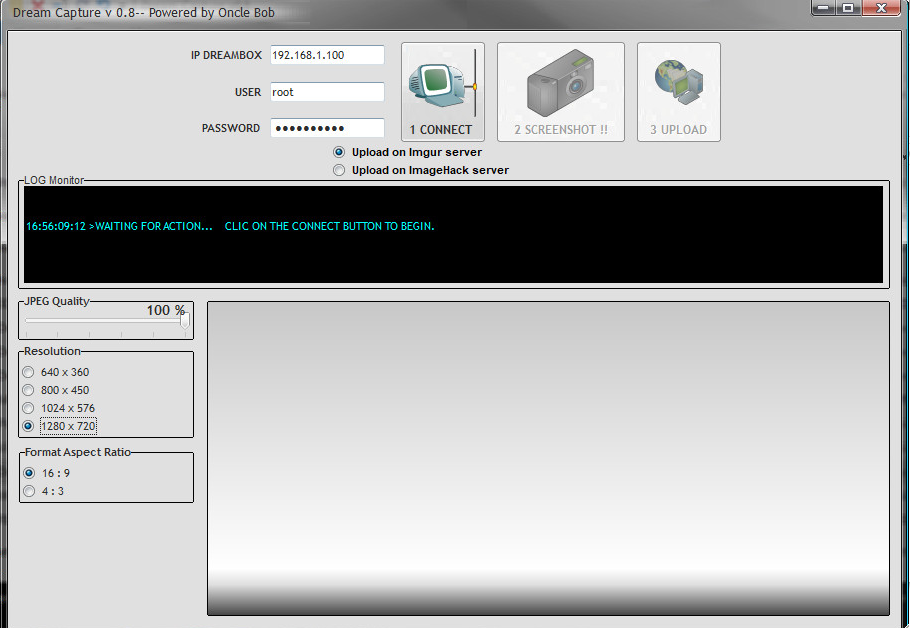
The Dream Capture tool lets you grab screenshots from your PC. Download it below.